Models > GFWH2400L0WW > Symptoms > Leaking

Parts That Fix General Electric Washer GFWH2400L0WW Leaking

Leaking is a commonly reported symptom for the GFWH2400L0WW General Electric Washer, and we have put together a full guide on how to fix this. This advice is based on feedback from people who own this exact appliance. We have listed the most common parts for your GFWH2400L0WW General Electric Washer that will fix Leaking. We have included repair instructions, and helpful step-by-step video tutorials. If you are experiencing this issue, not to worry, DIYers just like you have fixed this, and shared their experience to help you!

Fixes Symptom 36% of time
★★★★★
★★★★★
7 Reviews

Rated by 3 customers 


Really Easy 

15 - 30 mins 

Ratings submitted by customers like you who bought this part.   

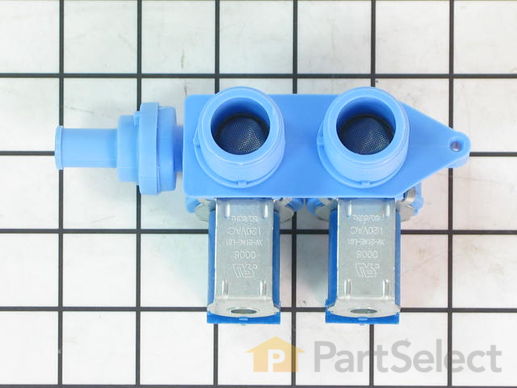
This water inlet valve attaches the water lines to the back of your appliance. The attaching solenoids on the valve open and close according to the desired temperature, or amount of water needed.

$ 102.95
  In Stock
PartSelect Number PS1019151
Manufacturer Part Number WH13X10023

Replacing your General Electric Washer Water Inlet Valve

Replacing your Water Inlet Valve

Customer Repair Stories

inlets cross threaded from water hose connections

I unplugged the power cord from the wall outlet, then I had to remove the top panel off the machine by removing the three phillips screws holding the back trim strip to the front top of the machine, than I removed the three 1/4 inch head screws holding the top panel found at the back top of machine. I now pulled the top pannel to the rear and removed the top pannel. Then I used pliers to squeeze open and slide clear the small clamp to the rubber hose to the valve and removed the hose end to the valve. Then I carefully pulled off the four wire connectors to the two solenoids of the valve.
Than I removed the one 1/4 inch head screw found on the back side of the machine securing the valve to the machine. Then I removed the valve by sliding it to the mounting screw side to disengage it.
Install the valve in reverse order but I tightened the valve holding screw only till it's seated because it screws into soft plastic. 6/15/08
  • Allan from Tucson, AZ
  • Difficulty Level:
    Really Easy
  • Total Repair Time:
    15 - 30 mins
  • Tools:
    Nutdriver, Pliers, Screw drivers
36 of 51 people found this instruction helpful.
Was this instruction helpful to you?
Thank you for voting!

machine would not fill on any cycle requiring hot water, Machine would work fine on cold cycles

I Disconnected power to machine and shut off water supply lines. Move washer away from wall and removed supply lines.(good time to replace them if older than five years) Where these supply lines attach to the washer is the water valve you are replacing. There are 3 screws on the back of the cabinet lid, then on the front 3 more screws hold the lid to the plastic control housing. After removing screws you need to slide the lid up and towards the back of the machine app. 1 1/2"to 2" before you can raise the lid up and off of the machine. Once the lid is off it is just one screw holding the valve, and a hose clamp that needs removed from the end of the valve. Then slide valve to the right (looking from front of machine to the back.) I left the wires attached to the old valve,installed the new valve then reattached the wires in the same order as they were on the old valve to avoid confusion. (note valve must slide into place to get screw to line up.)assemble is reverse of the above steps. Don't forget to level machine. Be careful attaching water supply lines plastic valve threads can strip without much effort.
  • Robert from Altoona, PA
  • Difficulty Level:
    Really Easy
  • Total Repair Time:
    15 - 30 mins
  • Tools:
    Nutdriver, Pliers, Wrench (Adjustable)
56 of 76 people found this instruction helpful.
Was this instruction helpful to you?
Thank you for voting!
Fixes Symptom 21% of time

$ 54.92
  In Stock
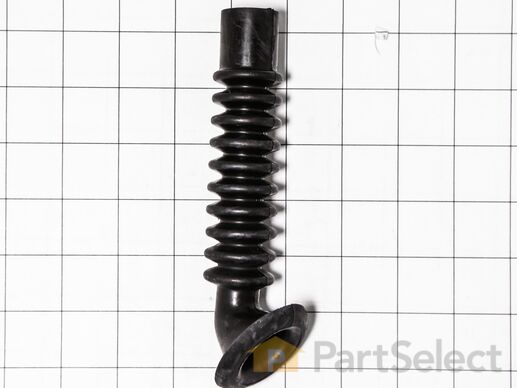
PartSelect Number PS1022525
Manufacturer Part Number WH41X10127
Fixes Symptom 19% of time

  No Longer Available
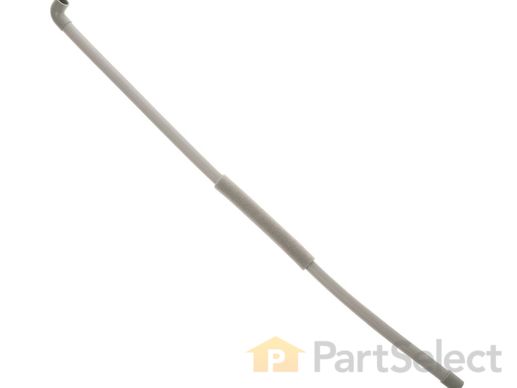
PartSelect Number PS1017093
Manufacturer Part Number WH41X10122
Fixes Symptom 13% of time
★★★★★
★★★★★
1 Review

Rated by 1 customer 


Very Easy 

Less than 15 mins 

Ratings submitted by customers like you who bought this part.   

$ 96.93
  In Stock
PartSelect Number PS16874133
Manufacturer Part Number WH11X34741

Customer Repair Stories

Water leaking

Did not have to use the new pump filter. The old one finally worked. I probably didn’t screw it in tight enough.
  • Herman from SAN DIEGO, CA
  • Difficulty Level:
    Very Easy
  • Total Repair Time:
    Less than 15 mins
2 of 3 people found this instruction helpful.
Was this instruction helpful to you?
Thank you for voting!
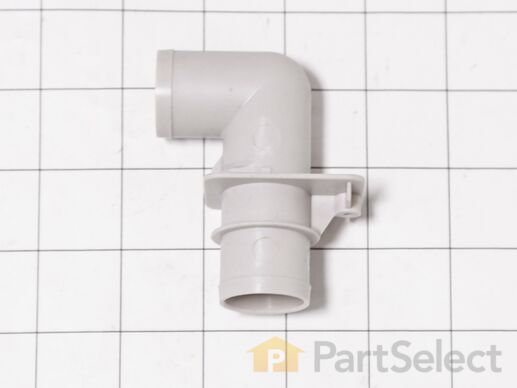
Fixes Symptom 10% of time

$ 10.77
  In Stock
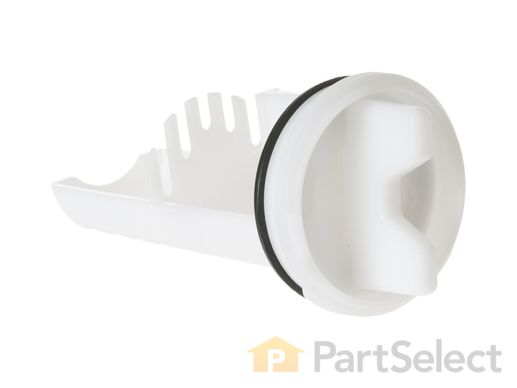
PartSelect Number PS1017683
Manufacturer Part Number WH01X10266