Make sure you haven't got the discount earlier.
Parts That Fix General Electric Washer GFWH2400L0WW Will not drain
Will not drain is a commonly reported symptom for the GFWH2400L0WW General Electric Washer, and we have put together a full guide on how to fix this. This advice is based on feedback from people who own this exact appliance. We have listed the most common parts for your GFWH2400L0WW General Electric Washer that will fix Will not drain. We have included repair instructions, and helpful step-by-step video tutorials. If you are experiencing this issue, not to worry, DIYers just like you have fixed this, and shared their experience to help you!
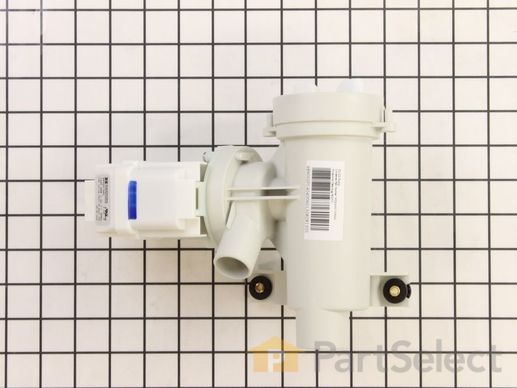
The drain pump removes water from the washer during the drain portion of the cycle.
Customer Repair Stories
Water not spinning out. Laundry still real wet, washer would not turn off, just Pause\Start button blinking.
-
Barbara from SURF CITY, NC
-
Difficulty Level:Easy
-
Total Repair Time:30 - 60 mins
-
Tools:Nutdriver, Screw drivers
Washer stopped during wash cycle and wouldn't open.
The drain pump is in the front right.
Removed the manual drain screen to drain residual water from the system. A bucket was necessary to collect all the water.
Disconnected the inlet and outlet hose.
Disconnected the electric supply.
Removed two Phi ... Read more llips screws holding the pump to the bottom of the machine.
Slid the pump towards the rear to clear the support pegs and removed it from the front opening.
Installation is the reverse of those steps.
-
Jason from HARRIMAN, TN
-
Difficulty Level:Easy
-
Total Repair Time:15 - 30 mins
-
Tools:Nutdriver, Pliers, Screw drivers


