Models > MSD2454GRW > Symptoms > Fridge too warm

Parts That Fix Maytag Refrigerator MSD2454GRW Fridge too warm

Fridge too warm is a commonly reported symptom for the MSD2454GRW Maytag Refrigerator, and we have put together a full guide on how to fix this. This advice is based on feedback from people who own this exact appliance. We have listed the most common parts for your MSD2454GRW Maytag Refrigerator that will fix Fridge too warm. We have included repair instructions, and helpful step-by-step video tutorials. If you are experiencing this issue, not to worry, DIYers just like you have fixed this, and shared their experience to help you!

Fixes Symptom 34% of time
★★★★★
★★★★★
34 Reviews

Rated by 39 customers 


Easy 

30 - 60 mins 

Ratings submitted by customers like you who bought this part.   

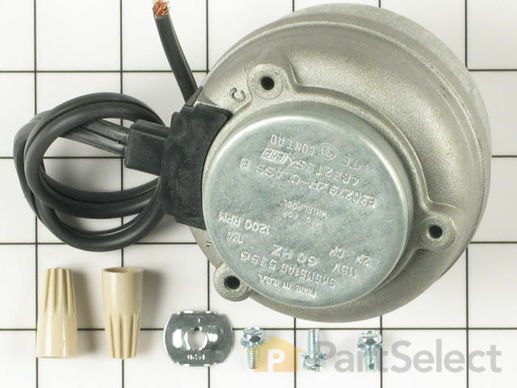
This condenser fan motor kit is designed for use with refrigerators. This fan draws air through the condenser coils and over the compressor. It does this with the goal of cooling the warm refrigerant before it enters the evaporator. When your fan or fan motor is not working your refrigerator will not cool properly. This is a 2-Watt, 115 Volt motor that rotates the fan in a counter clockwise direction. This kit includes the hardware needed for installation, and a set of instructions. Before you begin any repair work make sure to unplug your appliance.

$ 63.30
  In Stock
PartSelect Number PS395284
Manufacturer Part Number 833697

Replacing your Amana Refrigerator Condenser Fan Motor Kit

Replacing your Condenser Fan Motor Kit

Customer Repair Stories

noisy fan motor

rmv panel (5min) rmv fan/motor 3 screws (10 m) cut wire 2in from motor, re route remainder of wire to front so can strip for wire nuts. ( 10m) attach old fan to new motor, place in old opening ,3 screws, a little fussy to align, ( 15m ) route and strip wire from new motor , zip ties work well, wire nuts , plug in fridge vola, no noise, close up, reverse panel. ( 20m). i also took time to clean grilles with small vac and damp rag, ( looks and sounds like new) bob Wi.
  • robert from nashotah, WI
  • Difficulty Level:
    A Bit Difficult
  • Total Repair Time:
    30 - 60 mins
  • Tools:
    Nutdriver, Socket set
37 of 45 people found this instruction helpful.
Was this instruction helpful to you?
Thank you for voting!

Sometimes the condenser fan would start causing the refrigerator to overheat.

Unplug the appliance.
Removed the screws holding the back panel.
Removed the fan blade.
removed 3 screws holding the condenser fan.
Remove the 3 metal brackets attached to the fan.
(First note which studs the brackets are attached to. Attach the 3 metal brackets to the new fan. (New screws were supplied)
Cut and strip the wire about two inches from the fan.
Cut and strip the new wire. I cut the new wire in half (about 6 inches.) Connect the two wires, twist and used 2 wire nuts. Tie wrap the wire to the wire harness. Mount the new fan (three screws)
Screw the back panel back on.
Mount the new
  • Tom from Franklin, WI
  • Difficulty Level:
    A Bit Difficult
  • Total Repair Time:
    15 - 30 mins
  • Tools:
    Nutdriver, Pliers
180 of 206 people found this instruction helpful.
Was this instruction helpful to you?
Thank you for voting!
Fixes Symptom 21% of time
★★★★★
★★★★★
5 Reviews

Rated by 24 customers 


Easy 

30 - 60 mins 

Ratings submitted by customers like you who bought this part.   

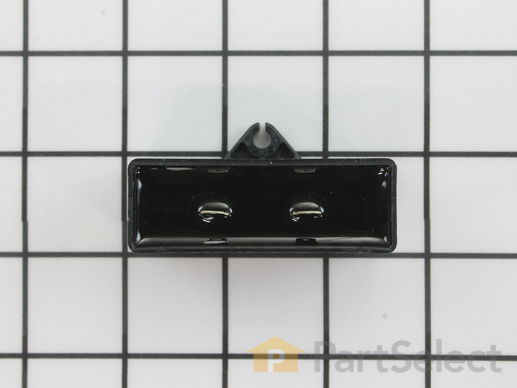
This part helps the compressor kick on and off while maintaining a constant temperature to keep things frozen in your freezer. If you are noticing temperature issues with your refrigerator or freezer, the run capacitor may need replacing. This repair is fairly easy to complete, and the only tools you will require are a 1/4 inch nut driver, and a 1/4 inch socket with a small ratchet. The run capacitor is located in the back of the fridge, so you will need to make sure you have room to work on this repair. Make sure to unplug the fridge prior to beginning the repair.

$ 66.85
  In Stock
PartSelect Number PS11743364
Manufacturer Part Number WP65889-4

Replacing your Amana Refrigerator Run Capacitor

Replacing your Run Capacitor

Customer Repair Stories

Refrig began to trip the GFI circuit in the garage. When plugged into a house interior circuit the lights and fan ran but no cooling in either the freezer or frig.

First of all I want to thank Michael from Carlisle,PA and this site for publishing Michael's info on the wiring specifics on the new 3 connector Start Relay ( WP2262185 ). The original relay only has 2 connectors The 2 orange wires which are combined to one female connector need to be clipped and separated each to its own connector. Refer to Michael's blog as to which wire goes to which connector on the Start Relay. I replaced the Run Capacitor, Start Relay and Overload just to be safe. The Start Relay was the actual culprit.Thank you for an excellent website!
  • riley from CAVE CREEK, AZ
  • Difficulty Level:
    Really Easy
  • Total Repair Time:
    15 - 30 mins
  • Tools:
    Pliers, Socket set
3 of 3 people found this instruction helpful.
Was this instruction helpful to you?
Thank you for voting!

Fridge stopped working

I called a repair man from a pretty large name to come out and take a look. He found out in about 10 minutes that it was a bad capacitor. The quote he gave me was $75 for the part and $175 labor. I tried my best not to laugh and tell him no thank you. He did have to charge me for him to show up, which was only $98.
So I used what he told(minus the "scrap it") and opened it back up. Although he had left wires everywhere and the broken pieces laying inside, I thought it was enough for me to order the part. PartSelect was very easy to navigate and ordering was a breeze. Took about 4 days to get the part and I ordered in the X-mas craze. Fixed it in about 15 minutes.
  • Dan from Sumner, WA
  • Difficulty Level:
    Easy
  • Total Repair Time:
    15 - 30 mins
  • Tools:
    Nutdriver
10 of 11 people found this instruction helpful.
Was this instruction helpful to you?
Thank you for voting!
Fixes Symptom 15% of time
★★★★★
★★★★★
2 Reviews

Rated by 3 customers 


Really Easy 

15 - 30 mins 

Ratings submitted by customers like you who bought this part.   

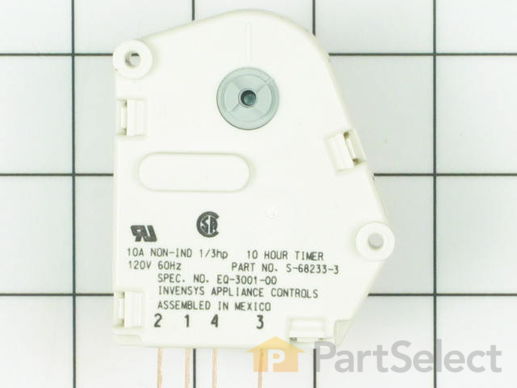
This defrost timer will cycle for twenty-one minutes after every ten hours of run time. The defrost timer acts like a clock. It continually advances and alternates between activating the cooling cycle and the defrost heater.

$ 123.03
  In Stock
PartSelect Number PS11743747
Manufacturer Part Number WP68233-3

Replacing your Maytag Refrigerator Defrost Timer - 120V 60Hz

Replacing your Defrost Timer - 120V 60Hz

Customer Repair Stories

Freezer and food compartment not working!! Warm.

Spoke to Rep.Advised that several parts might be involved. Replaced 3 recommended parts and frig works like brand new. Saved hundreds of dollars in repairman costs.l. Plus $1000.00 for cost of new frig. If you can walk and chew gum at the same time? Easy fix. Very skilled Rep's!! Excellent service!! Great prices!! Highly recommend!!
  • David P. from DINGMANS FRY, PA
  • Difficulty Level:
    Really Easy
  • Total Repair Time:
    30 - 60 mins
  • Tools:
    Screw drivers, Socket set
4 of 7 people found this instruction helpful.
Was this instruction helpful to you?
Thank you for voting!

Would not exit defrost mode (continual defrost)

Unplug the refrigerator. Remove face plate located in the upper back of the refrigerator compartment. Remove face place bracket on the right using nut driver. Removing these screws also frees the metal case enclosing the Defrost Timer. Pull the case away from the back of the refrigerator exposing the Defrost timer. Remove the electrical plug from the Defrost Timer. Then remove the Defrost Timer from the case by removing the two screws securing it. Reverse the procedure to install the new Defrost Timer.
  • Leon from Chaparral, NM
  • Difficulty Level:
    Really Easy
  • Total Repair Time:
    Less than 15 mins
  • Tools:
    Nutdriver
44 of 55 people found this instruction helpful.
Was this instruction helpful to you?
Thank you for voting!
Fixes Symptom 7% of time
★★★★★
★★★★★
4 Reviews

Rated by 5 customers 


Easy 

30 - 60 mins 

Ratings submitted by customers like you who bought this part.   

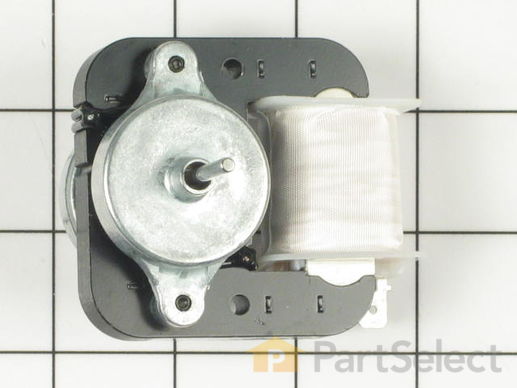
This is an evaporator fan motor for a refrigerator. The fan motor circulates air through the refrigerator to the fresh food compartment for efficient cooling. It is just over three inches long. It is made of both metal and plastic, and is made up of black, white, and metallic pieces. Disconnect power from your refrigerator before starting the repair because you will be working near electrical circuits. This is an authentic replacement part that is sourced directly from the original manufacturer. It is important to note that the blade is sold separately and is not included with the evaporator fan motor.

$ 103.06
  In Stock
PartSelect Number PS11743214
Manufacturer Part Number WP61004888

Replacing your Admiral Refrigerator Evaporator Fan Motor - 115V 60Hz - Blade NOT Included

Replacing your Evaporator Fan Motor - 115V 60Hz - Blade NOT Included

Customer Repair Stories

motor wore out making loud noise

unplug the refrigator, remove everything from
frezer compartment. remove ice maker three screws and un plug. remove rear panel 4 screws
remove motor bracket from rear panel 4 screws
unplug motor . replace motor and reasemble in
reverse order. the new motor is very quiet.
  • James from Bel Air, MD
  • Difficulty Level:
    Easy
  • Total Repair Time:
    30 - 60 mins
  • Tools:
    Nutdriver, Pliers, Screw drivers
5 of 14 people found this instruction helpful.
Was this instruction helpful to you?
Thank you for voting!

evaporator fan was noisy

First I unplugged the refrigerator. Next item was the ice-maker; remove (3) screws and unplug it from the back wall. Third task is remove the (4) screws that attach the back wall of the freezer compartment. Lift the wall up enough to dislodge the center cooling shaft that the fan rides in and remove the rear wall. The last item is the fan motor which is attached to the freezer wall by (2) screws and (3) wires which are easily removed. Change out the motor and reassemble freezer compartment .
  • Dwayne from Gastonia, NC
  • Difficulty Level:
    Easy
  • Total Repair Time:
    15 - 30 mins
  • Tools:
    Nutdriver
6 of 11 people found this instruction helpful.
Was this instruction helpful to you?
Thank you for voting!
Fixes Symptom 7% of time
★★★★★
★★★★★
2 Reviews

Rated by 3 customers 


Easy 

15 - 30 mins 

Ratings submitted by customers like you who bought this part.   

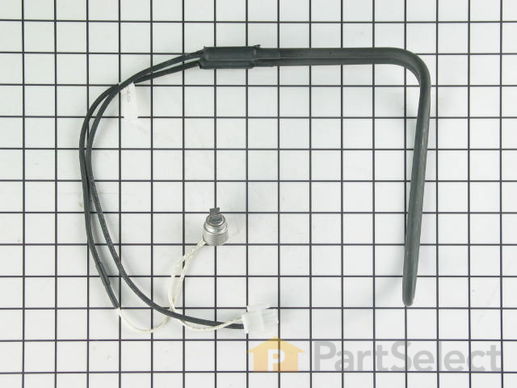
This part assembly has 2 functions: The defrost heater keeps the cooling coils from freezing and the thermostat can tell that the heat next to the cooling coils has reached the desired temperature.

$ 70.35
  In Stock
PartSelect Number PS11743275
Manufacturer Part Number WP61006116

Customer Repair Stories

Not defrosting the coils warming up the compartments

Removed housing on the freezer side and removed the assembly by removing the two bottom clips and then unclipping the wire harness, two prong, and replaced as remvoved. Power was off of course. Watched for 24 hours and recovered housing and its been working great.
  • Steve from Marion, IN
  • Difficulty Level:
    Really Easy
  • Total Repair Time:
    15 - 30 mins
  • Tools:
    Nutdriver
19 of 21 people found this instruction helpful.
Was this instruction helpful to you?
Thank you for voting!

defroster element and or thermostat was not working.

removed the shelves in the freezer compartment and removed the two screws holding the back panel on over the coils and simply removed the male wire plug from the female plug and pulled the wires for the heating element down thru the coils and released the spring clip holding the element in place and removed, and installed the new element and thermostat in reverse order. Very simple.
  • Thomas from Cottage Grove, MN
  • Difficulty Level:
    Really Easy
  • Total Repair Time:
    Less than 15 mins
  • Tools:
    Nutdriver
39 of 45 people found this instruction helpful.
Was this instruction helpful to you?
Thank you for voting!
Fixes Symptom 4% of time

Rated by 26 customers 


Really Easy 

15 - 30 mins 

Ratings submitted by customers like you who bought this part.   

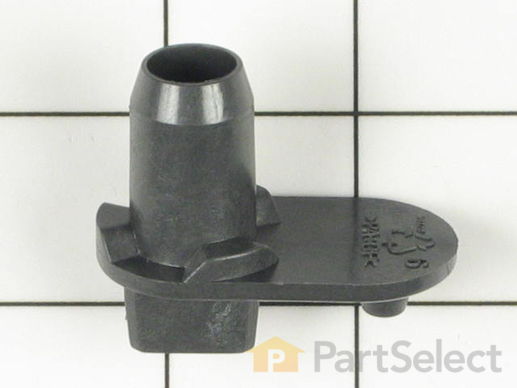
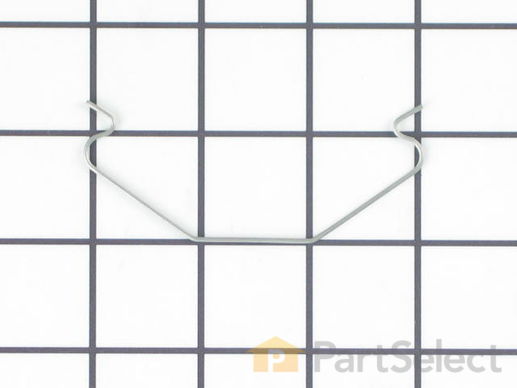
This lower hinge pin is almost two inches long. It is made entirely of plastic and it is all black in color.

  No Longer Available
PartSelect Number PS2058840
Manufacturer Part Number 61003174

Customer Repair Stories

Door dragging causing it not to seal complete

First I removed the three screws in the top hinge that hold the upper right corner of the door to the body of the unit. Then I just lifted the door off of the refrigerator. I proped the door up just long enough to pull out the old pin (plastic) and put the new one in place. Next I picked up the door and set it on the new hinge, and last I put the three screws back into place. It has taken me about as long to type this out as it did to actually make the repair. The part was also very reasonably priced so I purchased two since this items has been replaced previously.
  • dana from winston-salem, NC
  • Difficulty Level:
    Really Easy
  • Total Repair Time:
    Less than 15 mins
  • Tools:
    Socket set
1 of 2 people found this instruction helpful.
Was this instruction helpful to you?
Thank you for voting!

Lower hinge broke, causing the door to jump when open

It is the model with the french door. I unplugged it, removed two screws at the bottom of the door, while holding the door from sliding down. Removed the door and put it on its side. Removed one screw that was holding the hinge, removed the hinge and replaced it with the new one. Put the door back on (do not forget to reinstall the shims).
Did the same thing on the other door. After putting the door back on readjusted the height to level the door, using height adjustment screw. Lock the door in place. It now works better then new
  • Vadim from Flanders, NJ
  • Difficulty Level:
    Easy
  • Total Repair Time:
    15 - 30 mins
  • Tools:
    Nutdriver, Screw drivers
2 of 2 people found this instruction helpful.
Was this instruction helpful to you?
Thank you for voting!
Fixes Symptom 3% of time

Rated by 2 customers 


Really Easy 

30 - 60 mins 

Ratings submitted by customers like you who bought this part.   

$ 130.61
  In Stock
PartSelect Number PS2004069
Manufacturer Part Number 12002794

Customer Repair Stories

Frig stopped working, Lights & fan was on. Not cooling both Frig & Freezer

After I priced A New refrigerator, Then I Called A Friend to see if he had any idea of the issue. He lead me to the Overload Relay. I Went on-line & read everyone elses comments. I'm Happy to have recieved the Correct part & repaired the refrigerator myself. Great service from the PartSelect person. Note# Maytag has a Recall on the Relay, depending on the Model number. The new part will not look just like the old part. Which tells me they have been having trouble with the part.
  • Eddie from Sikeston, MO
  • Difficulty Level:
    Really Easy
  • Total Repair Time:
    30 - 60 mins
  • Tools:
    Nutdriver
Was this instruction helpful to you?
Thank you for voting!

Freezer was no longer working

Installed part directly to compressor and placed new protective housing. Monitored temperatures for 3 days and verified proper function. Very easy install, part is not a one for one swap and as mentioned by others taking a little perceptive understanding to install.
  • Anna from Gainesville, VA
  • Difficulty Level:
    Easy
  • Total Repair Time:
    15 - 30 mins
  • Tools:
    Nutdriver
Was this instruction helpful to you?
Thank you for voting!
Fixes Symptom 3% of time
★★★★★
★★★★★
4 Reviews

Rated by 21 customers 


Really Easy 

30 - 60 mins 

Ratings submitted by customers like you who bought this part.   

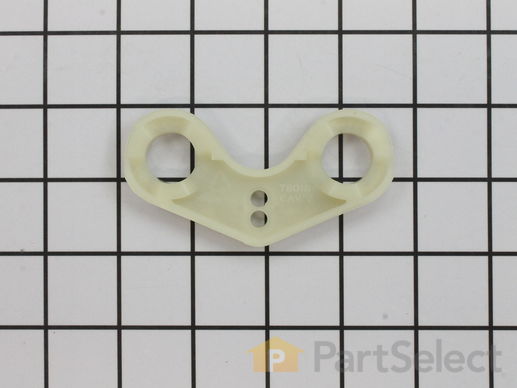
This part is the replacement natural door closer for your refrigerator. It is black in color and is approximately 3 inches by 2 inches in size. The natural door closer allows your refrigerator door to open and close smoothly. If your door won’t open or close, the door is sweating, or the refrigerator is too warm, it could be an indication that you need to replace the door closer. You will also want to replace the door closer if it is cracked, broken, or missing. This part is sold individually and is an OEM part sourced directly from the manufacturer.

$ 18.12
  In Stock
PartSelect Number PS2059251
Manufacturer Part Number 61003647

Replacing your Maytag Refrigerator Natural Door Closer

Replacing your Natural Door Closer

Customer Repair Stories

Fridge Door Was Not Sealing Properly

I removed three screws from top hinge. Lifted door off bottom hinge and set door on a flat surface. Replaced part and set door back in place. Put screws back and door fit tight again.
  • Aaron from Farmington Hills, MI
  • Difficulty Level:
    Really Easy
  • Total Repair Time:
    15 - 30 mins
  • Tools:
    Wrench set
Was this instruction helpful to you?
Thank you for voting!

Door will not close automatically

This is an easy repair. It took me longer to remove the bins off the inside of the door and clean then up, then the actual repair. Remove the top hinge trim 1 Phillips screw. After the hinge trim is removed you'll see 3 hex screws. Remove the 3 screws. Hold and open the door half way, and lift up on the door. The door is not heavy. Use your kitchen table as a work bench. Place the door flat on the kitchen table . On the bottom of the door you'll see the "CLOSER" One screw removes it. Reverse operations and reassemble. Note: Put a little Vaseline grease on the pivot point. Thats it ... 15 minutes and your done plus you saved a $65.00 service call.
  • Joseph from Wallingford, CT
  • Difficulty Level:
    Really Easy
  • Total Repair Time:
    Less than 15 mins
  • Tools:
    Nutdriver
4 of 4 people found this instruction helpful.
Was this instruction helpful to you?
Thank you for voting!
Fixes Symptom 3% of time

Rated by 6 customers 


Easy 

30 - 60 mins 

Ratings submitted by customers like you who bought this part.   

$ 9.42
  In Stock
PartSelect Number PS11743628
Manufacturer Part Number WP67005457
Fixes Symptom 2% of time

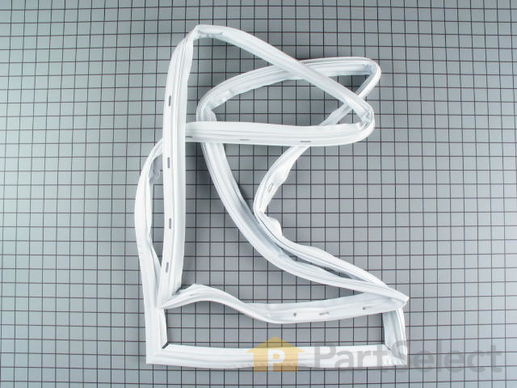
This white fresh food door gasket is used to seal the refrigerator door when closed to keep the cool air inside and the room air out.

  No Longer Available
PartSelect Number PS2061246
Manufacturer Part Number 61006009
Fixes Symptom 2% of time
★★★★★
★★★★★
1 Review

Rated by 4 customers 


Easy 

15 - 30 mins 

Ratings submitted by customers like you who bought this part.   

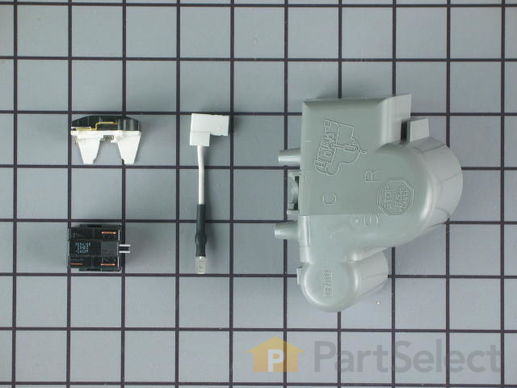
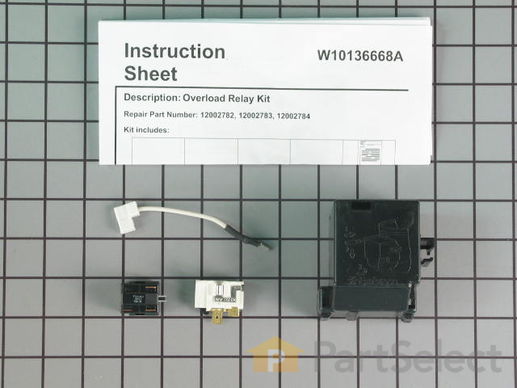
This part helps protect the motor from overheating.

$ 112.29
  Special Order
PartSelect Number PS2004059
Manufacturer Part Number 12002784

Customer Repair Stories

frig got warm, compressor would not turn on, heard clicking noise

googled for answer, deduced relay/switch problem. googled again for parts, found partselect.com, ordered part. 2 days later & $70 lighter, my 8yr old Maytag was working again! Parts were good fit, instructions were decent enough. Not for inexperienced tinkerer though.
  • Jeff from Cherry Hill, NJ
  • Difficulty Level:
    A Bit Difficult
  • Total Repair Time:
    30 - 60 mins
  • Tools:
    Screw drivers, Socket set
7 of 9 people found this instruction helpful.
Was this instruction helpful to you?
Thank you for voting!

The relay had burnt up.

I Removed the two wires from the old relay. I Then pulled the old relay off the compressor. Next, I had to get the overload seperated from the old burnt relay, which took some care not to break. The old relay and overload is in a plastic compartment. Then I followed the directions that came with the new relay. The only confusion came with getting the two wires back onto the terminals of the new relay, mainly because the old relay was burnt so badly I didn't have any idea how it was originally wired. I crossed the two wires on the terminals of the relay. The compressor would click off and on, but would not start blowing cold air. I swapped the wires on the terminals and it started working immediately.
  • Jacob from Glennville, GA
  • Difficulty Level:
    A Bit Difficult
  • Total Repair Time:
    15 - 30 mins
  • Tools:
    Nutdriver, Pliers
9 of 10 people found this instruction helpful.
Was this instruction helpful to you?
Thank you for voting!