Models > RT18BKXKQ00 > Symptoms > Fridge too warm

Parts That Fix Roper Refrigerator RT18BKXKQ00 Fridge too warm

Fridge too warm is a commonly reported symptom for the RT18BKXKQ00 Roper Refrigerator, and we have put together a full guide on how to fix this. This advice is based on feedback from people who own this exact appliance. We have listed the most common parts for your RT18BKXKQ00 Roper Refrigerator that will fix Fridge too warm. We have included repair instructions, and helpful step-by-step video tutorials. If you are experiencing this issue, not to worry, DIYers just like you have fixed this, and shared their experience to help you!

Fixes Symptom 28% of time
★★★★★
★★★★★
2 Reviews

Rated by 4 customers 


Really Easy 

15 - 30 mins 

Ratings submitted by customers like you who bought this part.   

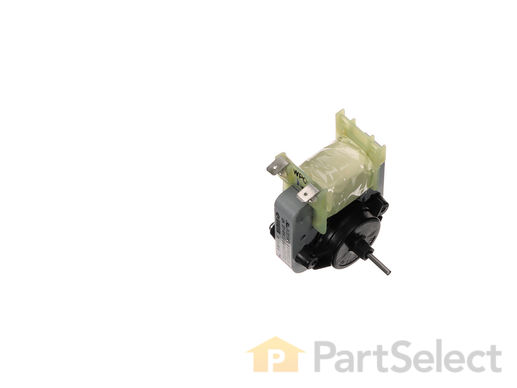
This evaporator fan motor is located in the back of the freezer, and circulates air over the refrigerator coils. These coils will convert the heat into cool air, which is then circulated.

$ 86.05
  In Stock
PartSelect Number PS11749867
Manufacturer Part Number WPW10188389

Customer Repair Stories

The Freezer was cold but the refrigerator was warm. The Fan motor had gone out.

It was very easy and I'm not a handyman by any stretch of the imagination. I just removed the back inside panel of the freezer. The I unscrewed the fan mounting bracket. Unclipped the wires. Removed the old fan blade and put it on the new motor. I then attached the wires to the new motor and secured it with the old mounting brackets. I then replaced the back panel. The fridge is working like new now.
  • Thomas from GATESVILLE, TX
  • Difficulty Level:
    Easy
  • Total Repair Time:
    15 - 30 mins
  • Tools:
    Nutdriver
7 of 7 people found this instruction helpful.
Was this instruction helpful to you?
Thank you for voting!

Blower motor expired

Pulled off the interior panel, removed the old blower, reinstalled the new one, plugged the frig in to make sure it ran and replaced the interior panel.
  • Raymond from Cedar Falls, IA
  • Difficulty Level:
    Really Easy
  • Total Repair Time:
    15 - 30 mins
  • Tools:
    Nutdriver, Pliers, Screw drivers
10 of 12 people found this instruction helpful.
Was this instruction helpful to you?
Thank you for voting!
Fixes Symptom 24% of time
★★★★★
★★★★★
4 Reviews

Rated by 11 customers 


Easy 

30 - 60 mins 

Ratings submitted by customers like you who bought this part.   

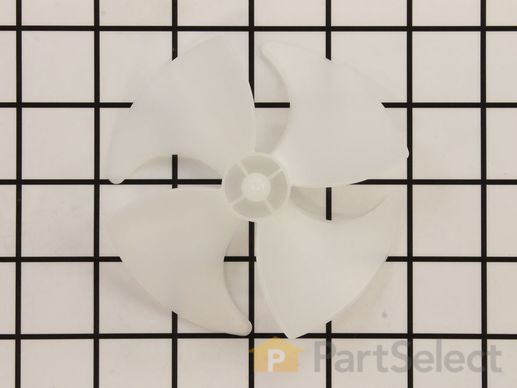
If your refrigerator or freezer is too warm, or making noises, you may need to replace the fan blade. The fan blade attaches to the evaporator motor, which is in the freezer section, to help circulate the cold air into the refrigerator and freezer sections. The fan blade is white in color and made from plastic. This is a genuine OEM part. Please be sure to disconnect the power to your refrigerator before starting your repair.

$ 37.20
  In Stock
PartSelect Number PS11738973
Manufacturer Part Number WP2169142

Replacing your Whirlpool Refrigerator Evaporator Fan Blade

Replacing your Evaporator Fan Blade
Fixes Symptom 12% of time
★★★★★
★★★★★
3 Reviews

Rated by 2 customers 


A Bit Difficult 

15 - 30 mins 

Ratings submitted by customers like you who bought this part.   

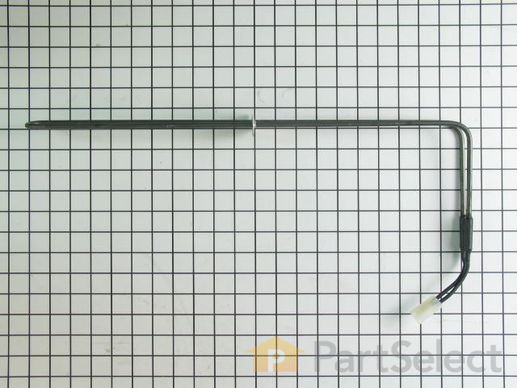
The defrost heater is similar to the burners on an electric stove. It's located just beneath the cooling coils, which are concealed behind a panel in the freezer compartment. The heater gets hot. And, because it's close to the cooling coils, any ice or frost build-up melts.

$ 62.19
  In Stock
PartSelect Number PS11739991
Manufacturer Part Number WP2263749

Replacing your Whirlpool Refrigerator Heater, Defrost

Replacing your Heater, Defrost

Customer Repair Stories

Fridge wont defrost

Freezer freezes and wont defrost. Ice clogs up the coils and the fridge gets hot. Repairman said it was the timer so I replaced that and it didnt fix it. Ordered defrost heater and installed and it is still not fixed. 150$ so far. Should have thrown it away like the repairman suggested.
  • james from Mcdonough, GA
  • Difficulty Level:
    Very Difficult
  • Total Repair Time:
    15 - 30 mins
  • Tools:
    Nutdriver
23 of 41 people found this instruction helpful.
Was this instruction helpful to you?
Thank you for voting!

Freezer wasen't cooling refrigerator

Removed the old defrost heater screws and connected the new one. I have 46 apartment units here and have had about 15 defrost heater's replaced by service repair person at a very expensive cost. To my surprise it was extremly easy and a lot less in cost.
  • Joann from ATCHISON, KS
  • Difficulty Level:
    Really Easy
  • Total Repair Time:
    15 - 30 mins
  • Tools:
    Screw drivers
34 of 43 people found this instruction helpful.
Was this instruction helpful to you?
Thank you for voting!
Fixes Symptom 11% of time
★★★★★
★★★★★
1 Review

Rated by 3 customers 


Really Easy 

Less than 15 mins 

Ratings submitted by customers like you who bought this part.   

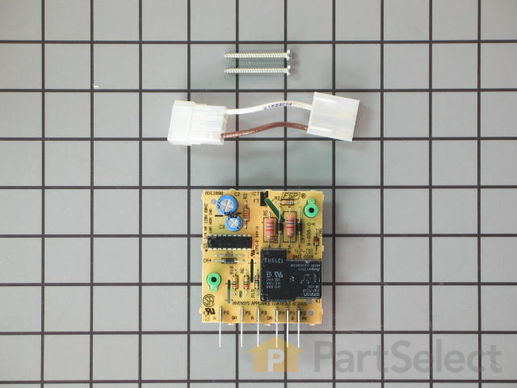
This device acts like a clock. It continually advances and alternates between activating the cooling cycle and the defrost heater.

$ 201.92
  In Stock
PartSelect Number PS372260
Manufacturer Part Number 4388931

Replacing your Whirlpool Refrigerator Refrigerator Defrost Board

Replacing your Refrigerator Defrost Board

Customer Repair Stories

would not defrost and would not get cold.

Had alot of frost build up, coils were frozen solid. Removed the coil cover to defrost.
Ordered the defrost timer on friday, arrived on saturday. only took 15 minutes to install. Working great
  • Jack from Beardstown, IL
  • Difficulty Level:
    Really Easy
  • Total Repair Time:
    Less than 15 mins
  • Tools:
    Screw drivers
13 of 14 people found this instruction helpful.
Was this instruction helpful to you?
Thank you for voting!

freezer froze up refridge not cold

I unplugged the fridge.Removed the thermostat casing located in the lower part of the refridgerator by removing a few screws. disconnected the wiring plug from the relay board-connected the new board-screwed the new board inplace-put the casing back and replaced those screws. turned fridge back on and HOORAY off we went. i want to add frinding the part and recieving it so quickly was also part of a great savings to me!
  • Benjamin from Mahanoy Plane, PA
  • Difficulty Level:
    Really Easy
  • Total Repair Time:
    15 - 30 mins
  • Tools:
    Screw drivers
39 of 45 people found this instruction helpful.
Was this instruction helpful to you?
Thank you for voting!
Fixes Symptom 11% of time
★★★★★
★★★★★
3 Reviews

Rated by 2 customers 


Really Easy 

Less than 15 mins 

Ratings submitted by customers like you who bought this part.   

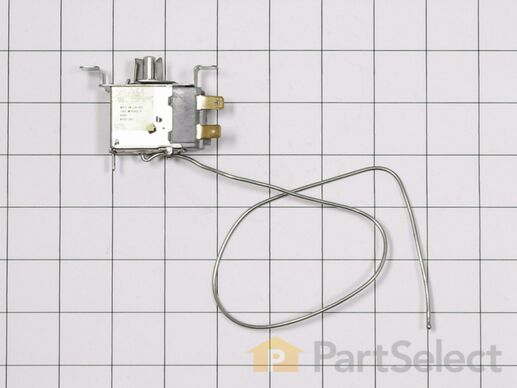
This thermally operated switch, controls the compressor circuit and therefore the temperature of the fresh food compartment.

$ 108.62
  In Stock
PartSelect Number PS11755844
Manufacturer Part Number WPW10511937

Replacing your Whirlpool Refrigerator Temperature Control Thermostat

Replacing your Temperature Control Thermostat

Customer Repair Stories

Wasn't getting or staying cold enough

Watched the installation video and was able to make repair easily
  • Christopher from CASTAIC, CA
  • Difficulty Level:
    Really Easy
  • Total Repair Time:
    15 - 30 mins
  • Tools:
    Nutdriver, Screw drivers
1 person found this instruction helpful.
Was this instruction helpful to you?
Thank you for voting!

thermostat swicth

change it
  • lonnie from defiance, OH
  • Difficulty Level:
    Really Easy
  • Total Repair Time:
    Less than 15 mins
  • Tools:
    Screw drivers
37 of 55 people found this instruction helpful.
Was this instruction helpful to you?
Thank you for voting!
Fixes Symptom 7% of time
★★★★★
★★★★★
2 Reviews

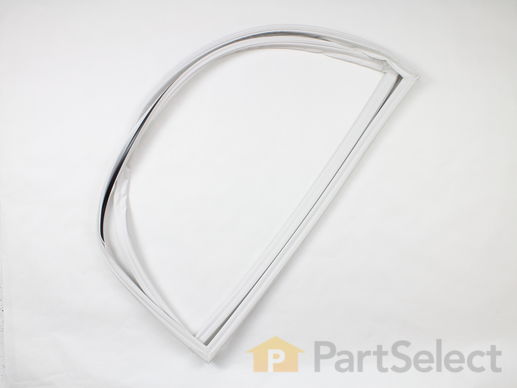
This door gasket is used to seal the refrigerator door when closed to keep the cool air inside and the room air out. (Misty Beige)

$ 151.71
  In Stock
PartSelect Number PS11740397
Manufacturer Part Number WP2319264T

Replacing your Whirlpool Refrigerator Refrigerator Door Gasket

Replacing your Refrigerator Door Gasket
Fixes Symptom 7% of time

Rated by 1 customer 


Really Easy 

Less than 15 mins 

Ratings submitted by customers like you who bought this part.   

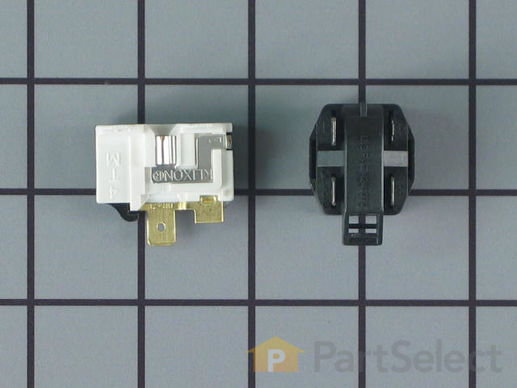
May differ in appearance, but functions same as original. The overload protects a motor from overheating and the relay boosts the compressor.

$ 56.91
  In Stock
PartSelect Number PS371538
Manufacturer Part Number 4387913

Customer Repair Stories

Freezer & Fridge warmed then stopped working

I oringinally thought it was one of the thermostats b/c the freezer started to freeze again after unplugging it. But then the next day it stopped all together and I could hear a clicking noise in the back and the compressor never turned on. It would click at around 2 minutes then again about 17 seconds later. I took photos of the original wires in the connector to match up later. The new parts were not identical to the old. The red wire on the bottom fit fine but the other two wires would not go in the same terminal or numbered positions (1&4). For 2 reasons, 1, the blue female was too small for the male and 2) there was a male missing at position 4. After looking at the guts of the old connector I decided to get new females (2 trips b/c I didn't buy a big enough wire opening - needed 2 wires) and cut, splice & crimp them. I then put the two females on the top two males & plugged it in. No sparks or explosions... but silence. I waited a few minutes and then the fan kicked on and then the compressor started running. That was Sunday, it's now Thursday and things are working well.
  • Jabez from Holland, MI
  • Difficulty Level:
    A Bit Difficult
  • Total Repair Time:
    1- 2 hours
  • Tools:
    Nutdriver, Pliers, Socket set
Was this instruction helpful to you?
Thank you for voting!

Fridge Air On, Not Cooling

Previous issue with this refrigerator and I figure after the Hot summer we've had in TX that it overworked itself this summer in the garage! Caught this one before all was lost as it started it's not cooling cycle on a Sunday. Ordered the identical Relay&Overload from Parts Select, 2 days later I'm back to chilling the beer again! Super service with diagrams and specs. Very glad parts select is around!
  • Robert from Austin, TX
  • Difficulty Level:
    Really Easy
  • Total Repair Time:
    Less than 15 mins
  • Tools:
    Pliers
74 of 179 people found this instruction helpful.
Was this instruction helpful to you?
Thank you for voting!