Make sure you haven't got the discount earlier.
Parts That Fix Whirlpool Range WGE745C0FS00 Will Not Start
Will Not Start is a commonly reported symptom for the WGE745C0FS00 Whirlpool Range, and we have put together a full guide on how to fix this. This advice is based on feedback from people who own this exact appliance. We have listed the most common parts for your WGE745C0FS00 Whirlpool Range that will fix Will Not Start. We have included repair instructions, and helpful step-by-step video tutorials. If you are experiencing this issue, not to worry, DIYers just like you have fixed this, and shared their experience to help you!
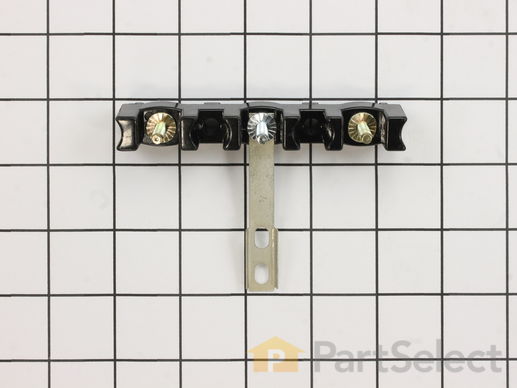
This part is for oven ranges, it connects individual wires and protects the device from electrical surges, voltages, and current. With this part, the house power is connected to the range wire harness. Some symptoms replacing the terminal block could be a solution for are little to no heat when baking, element will not heat and/or it will not start. This part will prevent loosening and will reduce damage caused by corrosion (by two different metals). Refer to the instructional diagram for further replacement guidance and exact placement. You must unplug the appliance before installing this part and wear gloves to protect your hands.
Replacing your Maytag Range Terminal Block

Customer Repair Stories
Stove top wouldn't come on. Oven couldn't go higher than low heat
Jumped on Part Select website, placed a question with my stove problem through the chat. Immediately they answer ... Read more ed my question and told me the problem was the Terminal Block. Cost of part and shipping $25.00. Replaced it myself and everything works fine.
Thank you, Thank you Part Select for your help and honesty.
Sincerely
Peter from Maryland
-
Peter from FREDERICK, MD
-
Difficulty Level:Really Easy
-
Total Repair Time:Less than 15 mins
-
Tools:Screw drivers, Socket set
Burned terminal block and filter board
-
Joseph from Decatur, GA
-
Difficulty Level:Easy
-
Total Repair Time:30 - 60 mins
-
Tools:Nutdriver, Screw drivers, Socket set, Wrench set
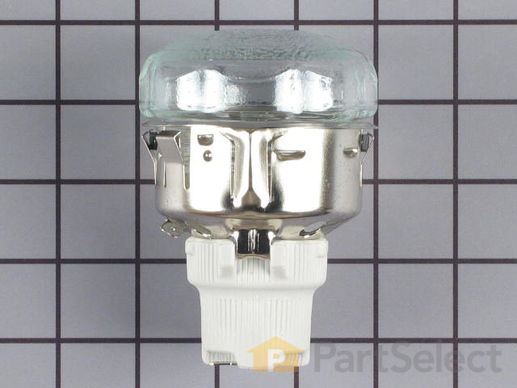
The light socket on your electric range connects the power source to the light bulb. If your oven light is malfunctioning, you may need to replace the light socket. The light socket is located in the back of your range, so in order to access it you will need to remove the back panel. Many of our customers have rated this repair as easy, and it should take less than 15 minutes. Before you begin this repair, make sure to disconnect the power source from your range. This is an OEM part sourced directly from the manufacturer.
Replacing your Whirlpool Range SOCKT-LITE

Customer Repair Stories
Inside brass liner in socket came out when bulb was removed. Apparently had welded itself to the base of the bulb
-
Lewis from Chapin, SC
-
Difficulty Level:Easy
-
Total Repair Time:15 - 30 mins
-
Tools:Nutdriver, Screw drivers
Socket Light had a bad thread
of the housing. After you unhook the 3 lead wires
that are attached to the unit. All you have to do is push in on the clips and release the unit. Then you
snap in the new unit. Attach the 3 wire leads, put a
oven bulb in the socket end, and the install the light cove ... Read more r
-
Edmund from Emporium, PA
-
Difficulty Level:Easy
-
Total Repair Time:15 - 30 mins
-
Tools:Pliers, Screw drivers


