


How to Replace Dryer Drum Baffle
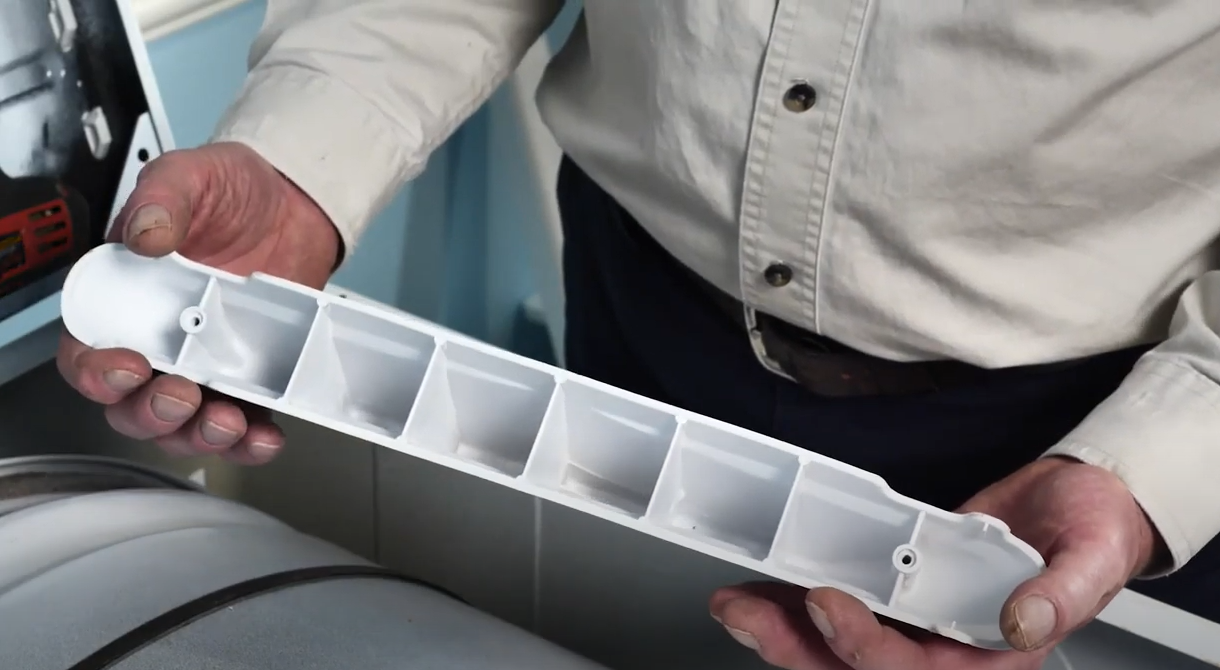
The Drum Baffles are an important component in your dryer, but are you baffled by what exactly they are? You interact with them each time you put clothes into your dryer, but perhaps you never knew their proper name. The baffles are the sets of “fins” inside your dryer drum, there are usually three or four of them spaced around the interior. They help with the airflow and to fluff up your clothes while the dryer is tumbling. They do this by lifting clothes off the side of the dryer and into the airflow. If you didn’t have baffles in your dryer, your clothes would stay clumped together and would not dry thoroughly. If they become loose or damaged, it’s possible that your clothes will get caught or snagged by them.
Sometimes after heavy use or drying items like footwear the baffles may become loose or dislodged from the drum. It's important that you address that situation as soon as possible so that you don’t do permanent damage to your drum or to your clothing. If you see that one of your baffles has become loose or is starting to vibrate it’s time to check it out.
Although the dryer we’re demonstrating on may not be the same model as yours, the process for inspecting and replacing your baffles should be similar. Be sure to disconnect the power supply to your dryer before beginning any repairs, and if it is gas heated, also disconnect the gas supply. You can follow along with the video below to see how we did this repair.

Remove Parts to Access Drum
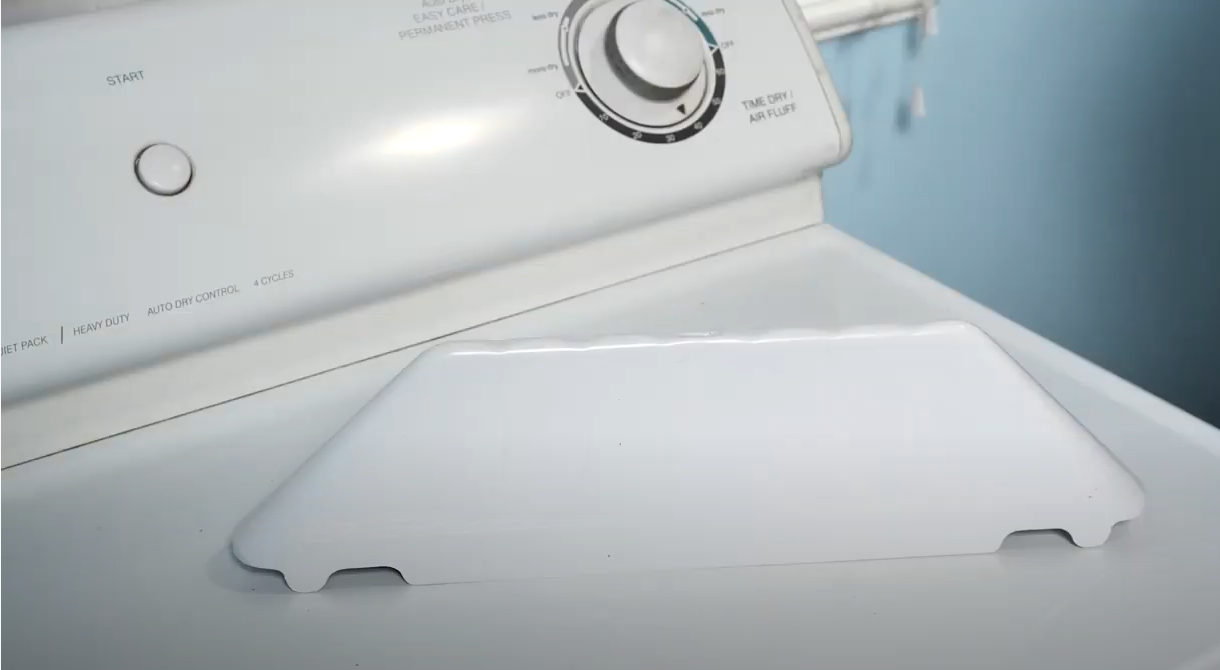
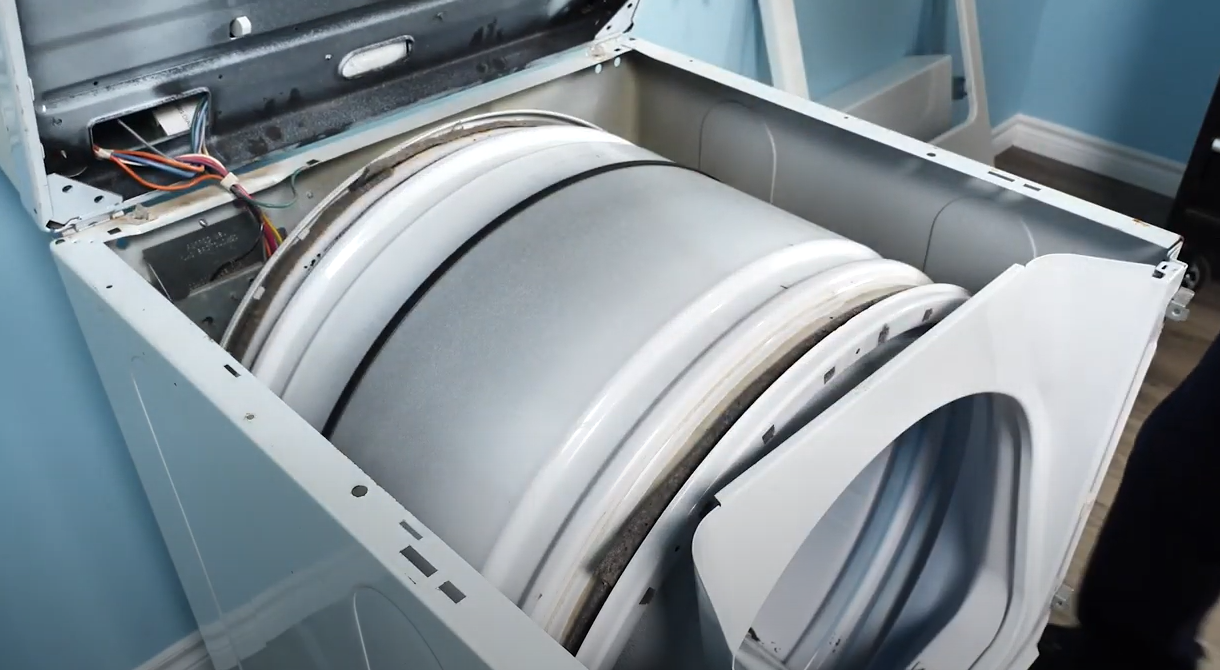
First, we need to open the dryer door to access the hinges. Remove the screws holding the hinges to the body of your dryer and lift on the door to remove the whole piece from your dryer. Set the door in a safe spot out of the way of your work area. Then we’ll need to remove the screws that hold the front panels in place. With those out of the way, we can then access the mounting brackets for the main top. Once those are removed, we can lift the top of the dryer which now gives us access to the outer side of the drum.
The Baffles: Inspect, Remove, Replace
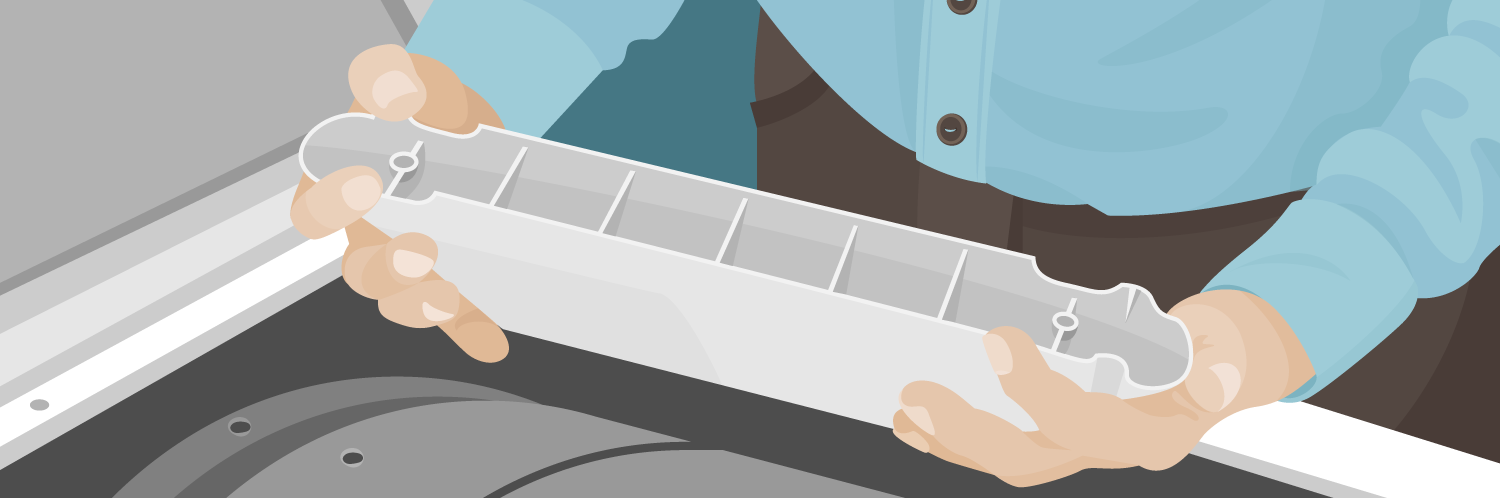
With the main top now raised, we can rotate the dryer drum until the damaged baffle in question is at the “top” of the dryer. From the outside of the drum, we can remove the screws that are holding the baffle in place. If the baffle has just become loose, all you need to do is tighten up the screws. However, if the baffle is damaged or has broken off completely, you will need to replace it.
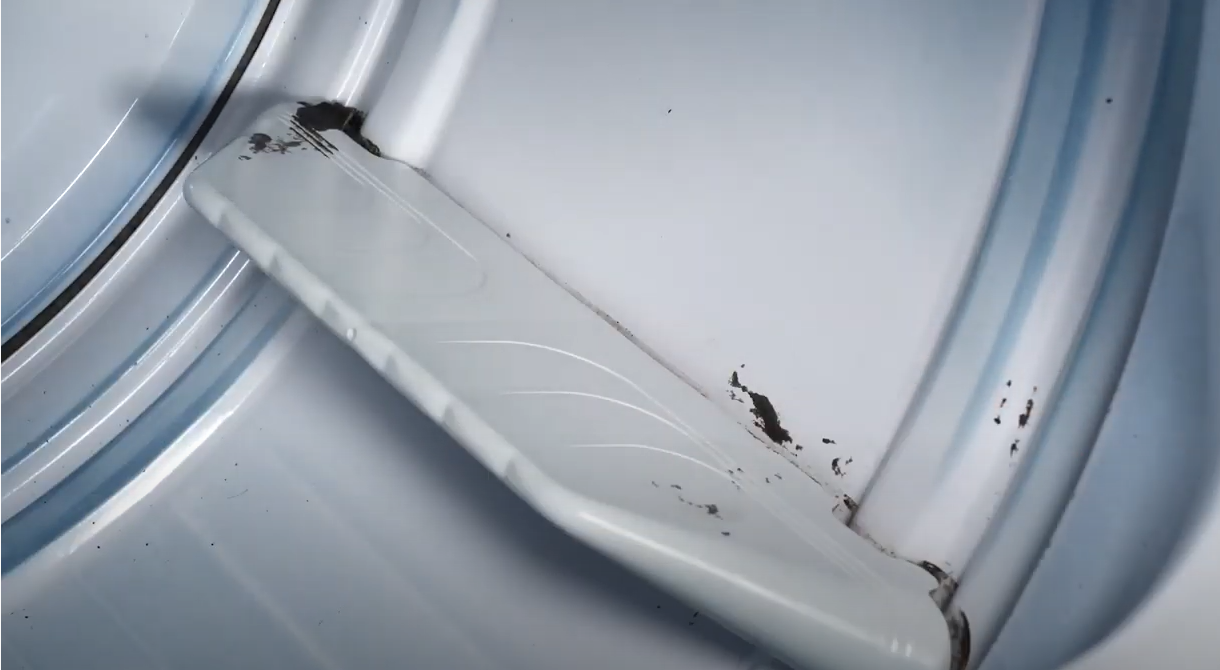
In our case, we discovered that the screw-holes were stripped, and we would not be able to re-tighten our baffle to the drum. To remove the baffle, you’ll need to use one hand to support the baffle inside the dryer (to keep it from falling and potentially damaging the drum) and remove the two screws from the outer drum. At this point, you should inspect the other baffles in the dryer for damage or to tighten them up. If the holes on the drum have any damage, you’ll need to use a larger washer when replacing to ensure they stay nice and tight.
Close Up The Dryer
Once you have inspected, replaced, and tightened up each of the baffles in your dryer, it is time to put the appliance back together. Carefully lower the main top, ensuring it clicks into place. Reinstall the mounting brackets and front panels and reattach the door to the hinges. Be mindful of the status of your baffles, staying on top of any loose ones so that your clothing doesn’t become torn or your dryer damaged. Try to avoid drying large clunky items like sneakers, as these can cause the baffles to crack or break.

If you need to purchase replacement parts for your dryer, we have thousands of genuine manufacturer approved parts available on our website you can find by searching for your model number. Be sure to subscribe to our YouTube channel to stay up to date on all our repair tips.


How to properly clean your top load washer to eliminate odor and keep it fr...
A few minutes of maintenance could save you hours of repair work in the fut...

Properly washing & drying clothes without damaging or fading them is vital....
