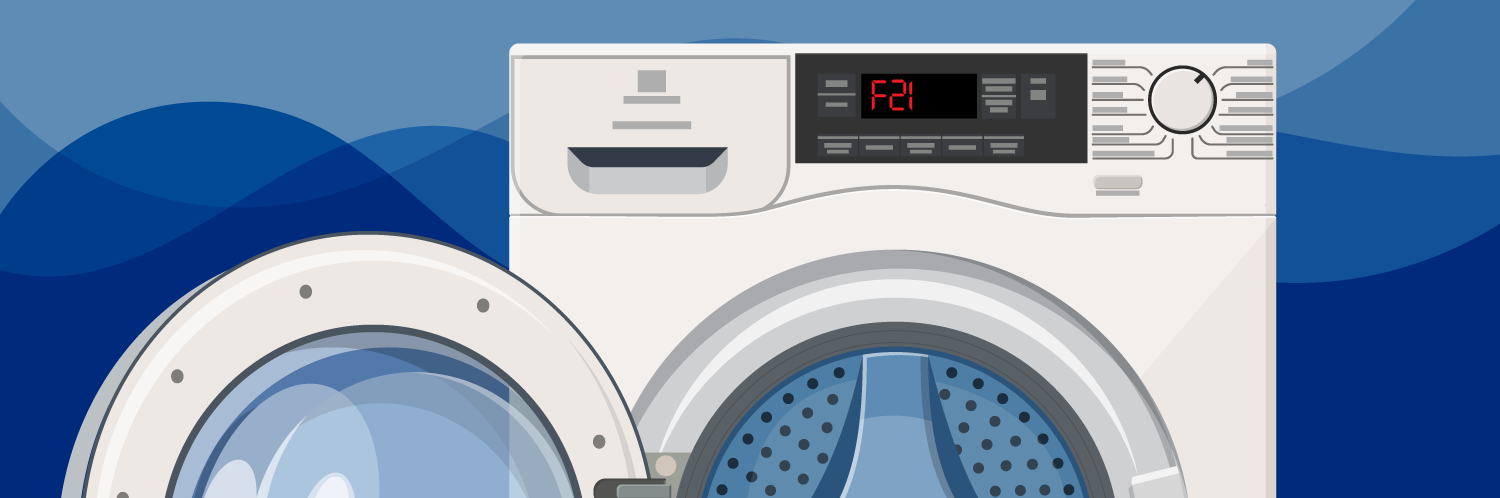
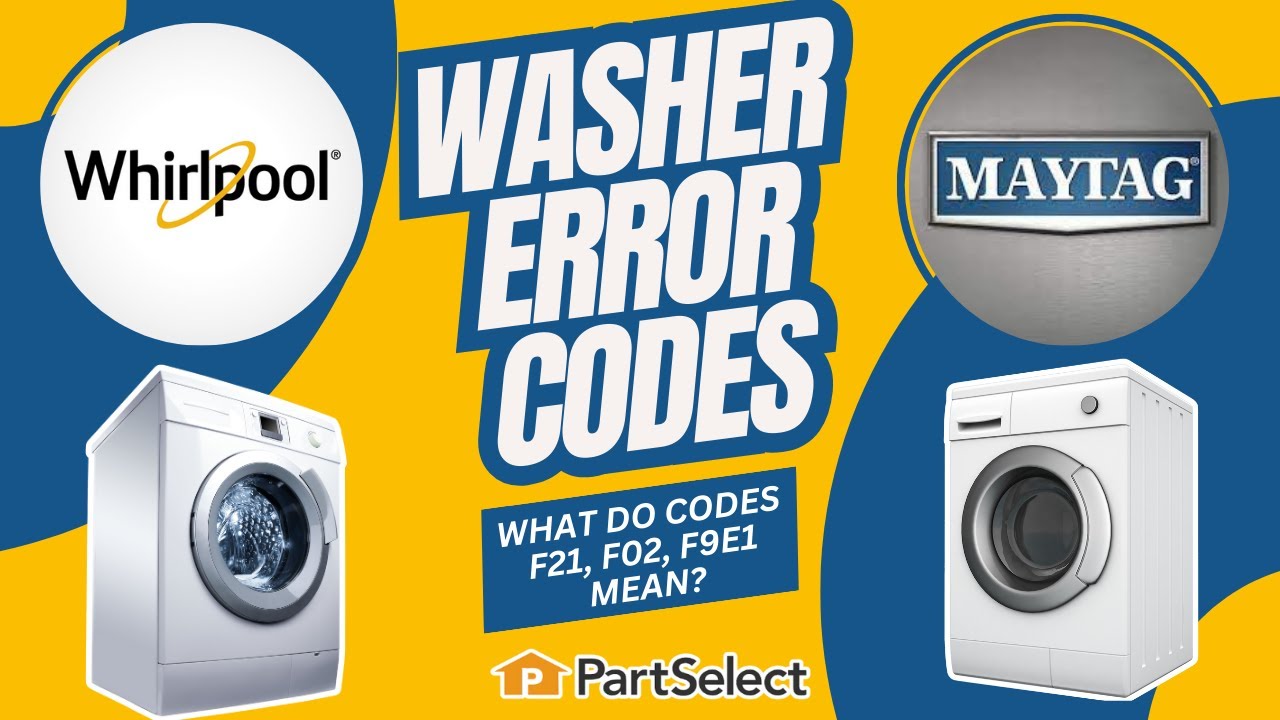
What F21, F02, and F9E1 Errors Mean on Whirlpool or Maytag Washers
Your go-to guide for troubleshooting washers that won't drain
Post
Pin It
Share
Subscribe
Doing laundry isn't anyone's idea of a good time, but hey, we've all got to do it. You might have your laundry routine down pat, but sometimes, your dependable washer throws you a curveball in the form of an F21, F02, or F9E1 error code.
Much like a warning light on a car’s dashboard, your machine is cluing you in on what needs fixing. Whether you have a Whirlpool or a Maytag washer, this guide will help you understand what the problem is, how to resolve it, and even how to stop it from bothering you again. Whirlpool's ownership of Maytag and their shared washer technology means they use identical error codes.
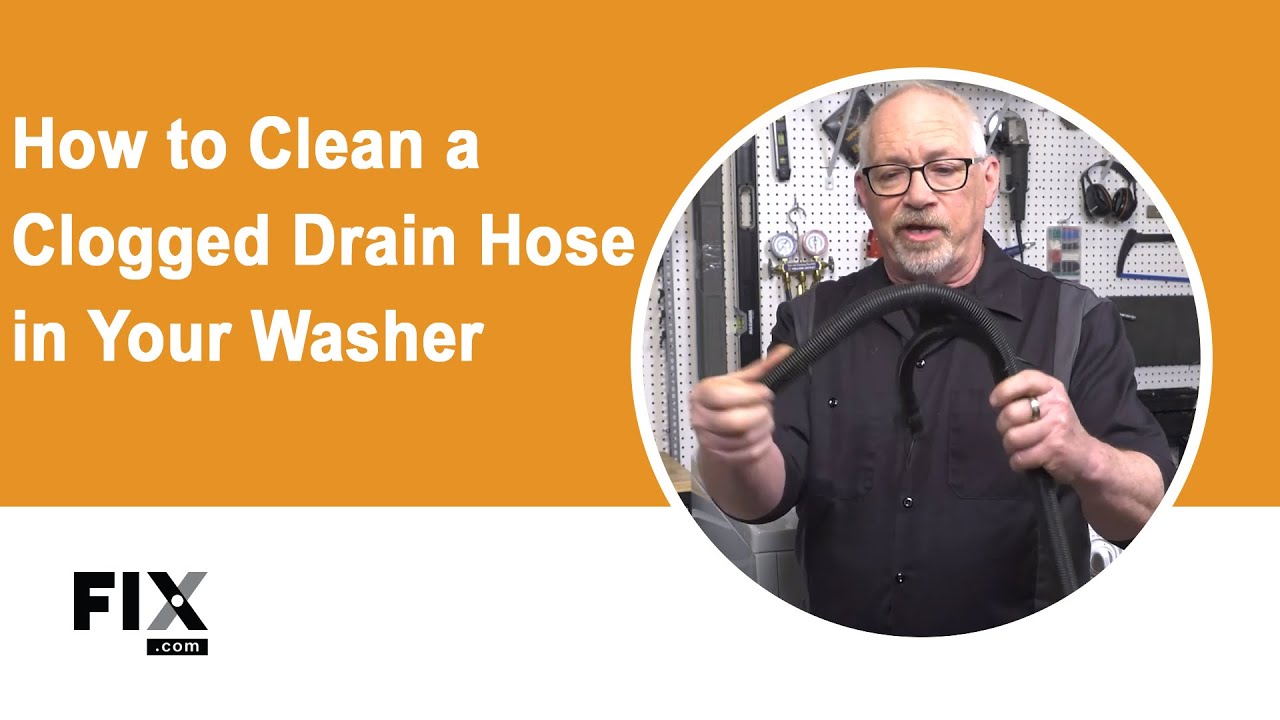
Our YouTube video provides a detailed, step-by-step walkthrough of the diagnostic process. This can be especially useful if you're on-the-go or prefer focusing on your appliance and its parts while troubleshooting the issue. Simply click the thumbnail below to begin. Alternatively, you can continue reading for our written guide on understanding the F21, F02, and F9E1 error codes, the associated symptoms, and DIY fixes to get your washer back in working order.
What Do the F21, F02, and F9E1 Codes Mean?
Essentially, these error codes are your washer's way of saying there's a drainage problem, and it's taking longer than usual to empty the water from its drum. In this guide, we'll walk you through troubleshooting for all three error codes:
F2 Error: This suggests a minor blockage, causing a slight delay in draining water from the drum.
F02 Error: It's a more severe drainage problem, indicating your washer couldn't drain water within its usual 8-minute limit.
F9E1 Error: It is likely that there is a malfunction within the drainage system, potentially preventing your washer from draining at all.
Based on the error code, your next steps may involve cleaning filters or hoses for F21 and F02 issues or considering a parts replacement or seeking professional assistance for F9E1 problems.
Still confused about the differences between the codes? Let’s break it down using a kitchen sink analogy:
F21 Error: Imagine you're washing your breakfast dishes, but the water in the sink is draining slowly. Your sink seems to be murmuring, "Hey, maybe there's some food slowing down the water flow?" That's like an F21 error—your washer can still drain the water, but it's slower than it should be.
F02 Error: Fast forward to lunchtime. You set a timer for 8 minutes so you won't forget about your boiling pasta on the stove. You notice the sink is still draining, but very, very slowly. When the timer buzzes, you know you've got a problem—just like an F02 error on your washer. Your washer is saying, "I had 8 minutes to drain, and I didn't. This is serious!" In technical terms, your washer couldn't drain within its programmed time limit, which is usually set at 8 minutes.
F9E1 Error: Evening rolls around, and as you try to drain the sink after dinner, there's a strange gurgling sound and a not-so-pleasant smell. That's the F9E1 error—there is not just a draining issue but a potential malfunction of the drainage system itself, which might need expert help.
What Symptoms Can You Expect?
When your washer encounters any of these error codes, keep an eye out for the following signs:
Prolonged Cycles: You may notice that its cycle timings extend far beyond what’s normal. When your washer is struggling to drain, it causes a domino effect that delays subsequent cycles like rinsing and spinning. Your washer may even attempt to drain multiple times.
Paused Machine: Your washer might come to a halt, displaying the F21 error code and effectively pausing the entire machine.
Water Left in the Drum: After a cycle, you might discover that there's still water left in the drum.
Possible Causes of the F21, F02, and F9E1 Codes
Knowing which parts to side-eye can really save you some troubleshooting time. Here are the likely culprits:
Drain Filter: This is usually the first place to check. It's a protective mesh that catches small items like lint, coins, or buttons. A clogged filter slows down the draining process.
Drain Pump: The pump’s job is to push the used water out of the washer and into the drain hose. Occasionally, small objects can get lodged in the pump, causing it to become congested.
Drain Hose: This hose carries the dirty water out of your machine and into your home's drainage system. A blockage or kink in the hose will impede proper drainage.
Pressure Switch: This component monitors the water level inside the drum. If it malfunctions, it can send incorrect information to the control system, complicating the draining process.
With this groundwork, you're primed for the hands-on phase of this repair journey.
Troubleshooting Guide for Whirlpool and Maytag Washers
Now that you've gotten a sense of what to look out for and what parts could be the problem-makers, you’re probably itching to get that error cleared.
Things to Check First
Before grabbing your toolbox, consider this quick checklist of simple things you might have overlooked:
Is Your Washer Overloaded? An overcrowded washer can disrupt water circulation, affecting drainage. There should be enough space in the drum for you to insert your hand along with the laundry comfortably.
Are You Using High-Efficiency (HE) Detergent Properly? Excessive suds, often caused by using the wrong detergent or using too much of it, can lead to drainage issues. Double-check that you're using HE detergent and sticking to the manufacturer's recommended amount.
Safety Precautions
Remember to unplug your washer from its power outlet and to turn off the water supply before disassembling any parts. Keep a few towels close by as they'll come in handy for soaking up any spills. After all, it’s better to be safe than soggy.
How to Drain Water from Your Whirlpool or Maytag Washer
Shall we address that elephant in the room— er, drum? If there’s standing water in your washer, it isn’t going to disappear on its own!
Using the Drain and Spin Cycle
If your washer has a “Drain and Spin” cycle, great! Activate it to get rid of any leftover water resulting from a stopped or incomplete cycle.
Draining Residual Water Manually
If your washer doesn't have a "Drain and Spin" feature, don't sweat it. Start by locating your washer's drain pump filter. The location can vary by model, but it's usually found either behind a rear panel or inside a small compartment at the bottom of the machine. To find out for sure, check your user manual.
Place a container under the drain pump to catch the water that will come out. Carefully unscrew the filter cap to let the water drain into the container. Some washers also have a hose next to the filter; if yours does, you can unclip it, open its plug, and allow any trapped water to drain out. If your container fills up before you're done, just screw the cap back on, empty the bucket, and continue draining.
How to Troubleshoot the Drain Pump and Filter to Fix an F21, F02, or F9E1 Error Code
Let's figure out if that error code you're seeing can be cleared by giving the drain pump and filter a once-over.
How to Inspect the Drain Pump and Filter
Depending on your Whirlpool or Maytag washer model, the drain pump and filter are typically located either at the back, concealed by a panel, or at the bottom front inside a drawer. Your user manual will show you where to look.
If the pump is at the back of your washer, you'll usually need to remove some screws to take off a rear panel to reach it. Don't forget to also disconnect the inlet and outlet hoses by loosening their clamps. Pro tip: Sliding the washer away from the wall and propping the front end up with some blocks can make this process a lot easier.
If the pump and filter are inside a drawer at the bottom front, open the drawer using its handle. To remove the drawer completely, you may have to press down on a tab on its right side while lifting another tab on its left side.
In either case, you will want to disconnect the pump’s wiring harness before uninstalling it from the machine. Take off any screws or clamps holding it in place. To see inside the pump, use an adjustable wrench to twist and remove the filter cap.
How to Clean Drain Pump and Filter
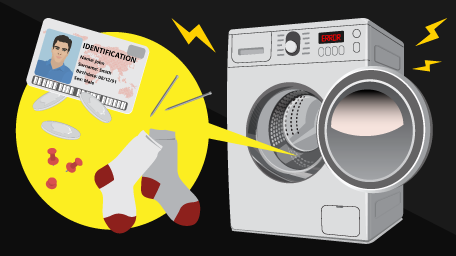
Chances are, you've got some lint, hair, loose change, or even socks clogging up the filter. After removing the cap, clear large debris by hand and rinse it under running water to remove remaining dirt.
How to Install the Drain Pump and Filter
Once everything's clean, reconnect the electrical wiring to the pump and slide it back into place. Secure it using any screws you removed earlier. Turn the filter cap until it's tightly in place; the handle should be basically standing up vertically. Finally, put back and secure either the drawer or the rear panel.
How to Troubleshoot the Drain Hose to Fix an F21, F02, or F9E1 Error Code
If the error code persists after checking the drain pump and filter, your next course of action is to examine the drain hose.
How to Inspect the Drain Hose
The drain hose generally runs from the back of your washing machine to a standpipe. To take a closer look, unclamp and remove the hose from both the washer and the standpipe. Feel along the hose for any kinks or twists that might be blocking the flow of water. If you find any irregularities, a replacement may be in order.
How to Clean the Drain Hose
For minor blockages: A burst of compressed air can often do the trick. Blow air through the hose to dislodge any minor clogs.
For tougher clogs: Use a plumbing snake or a stiff wire. If your hose has a special clip to help it keep its shape, remove that first. Insert your snake or wire into the hose, moving it back and forth until you feel the blockage give way. If your hose has a bent section or "elbow," it's best to start from that end.
Some hoses have a built-in valve that prevents water from flowing backward. If that's the case, make sure you're inserting your snake or wire in the same direction the water flows. Otherwise, the wire will get stuck against the valve.
How to Install the Drain Hose
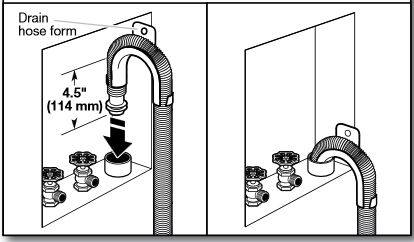
When you're installing a new or freshly-cleaned hose, gently insert it into the standpipe, ensuring it doesn't extend more than 4.5 inches into the standpipe. Secure the hose in place, but avoid tightening it to the extent that it restricts airflow around the hose.
The end of your drain hose should be positioned at a minimum height of 36 inches above the floor to prevent any unwanted siphoning issues. Conversely, if the hose extends higher than 96 inches, you'll want to lower it slightly to ensure optimal performance. Remember to never tape over the standpipe's drain opening.
How to Troubleshoot the Pressure Switch to Fix an F21, F02, or F9E1 Error Code
If all else fails, the last place to check for issues is the pressure switch.
How to Inspect the Pressure Switch
You'll usually find the pressure switch under the top cover of your washing machine. Once you've got that open, take a look at the switch. Look for obvious problems like cracks or corrosion. Also, make sure the wires connected to it are in good shape and securely attached. Loose or damaged wires can often be the reason a pressure switch isn't working correctly.
If you think the switch needs to be removed for further inspection, use a flat screwdriver to undo any clips or fasteners holding it in place. Remove it along with the clear tube attached to it—this tube helps the switch detect air pressure.
How to Test the Pressure Switch
You can test the pressure switch using a multimeter. But first, gently blow into the tube connected to the switch. You should hear a 'click' sound, which means the switch can sense changes in air pressure.
Then, set your multimeter on continuity mode. Connect the meter's probes to the switch's terminals and see if the meter registers a change when you blow into the tube again. If the readings don't change, your pressure switch is likely faulty.
How to Install the Pressure Switch
If the old switch is bad, you'll need to install a new one. Connect the wire and tube to the new switch and put it back where the old one was. Once it's in place, reattach the top cover and secure it.
These practical tips will keep your Whirlpool or Maytag washer from running into drainage problems:
Monitor the Drain Hose Regularly: Ensure that the drain hose is positioned in a way that allows for unobstructed water flow. Check its placement and condition periodically.
Check the Pump Filter Regularly: Make it a routine to clean the drain pump filter at least every three months. A clean filter ensures smooth water drainage.
Check Pockets While Loading the Washer: Small items like coins, hairpins, or tissues can create clogs in the drain system. Always make it a point to check the pockets of your clothing before tossing them into the washing machine.
Use Proper Detergent: Opt for an HE detergent and use it in the correct amount to prevent excessive suds that could interfere with draining. It's worth noting that not all HE detergents are created equal in their ability to minimize suds. If you continue to experience issues, consider switching to a different HE detergent. Always adhere to the detergent manufacturer's guidelines for the proper amount to use.
Now that you’ve tackled that error code, you’re no longer just a homeowner but a home fixer. So go ahead, load up that washer and get back to the important stuff, like deciding if your laundry should smell like 'Citrus Sunburst' or 'Spring Bliss'.
The PartSelect Content Team has a passion for DIY and we pride ourselves on being a resource for quality, expert content to help you accomplish any DIY project. Alongside our expert repair technicians, our team of experienced technical writers works to provide safe and reliable information on all tasks and jobs around your home. We spend time learning about the problems and projects that our customers are working on, and we make it our job to answer key questions and provide resources for every step along the way. Repairs and DIY projects are what we do, and the PartSelect Content Team wants to help you do them, too.
With the Fix app, you can quickly and easily find information on your appliance, along with videos and articles to help you fix it.
"Like magic. I took a picture of the model number on my refrigerator, and the app identified it right away … Very convenient. I'm impressed." - Clever Jeff ★★★★★
You added 1 item to your cart
✖
$
Qty:
Total item(s) in cart:
Order Subtotal
$
*Taxes and shipping will be applied during checkout